There is truly nothing quite like the smell of fresh bread baking in your kitchen. Here in Nashville, that comforting aroma always takes me back to my grandmother's kitchen. She had a knack for making everything feel special. My own journey as a home cook often involves finding ways to capture those beloved flavors with modern-day speed.
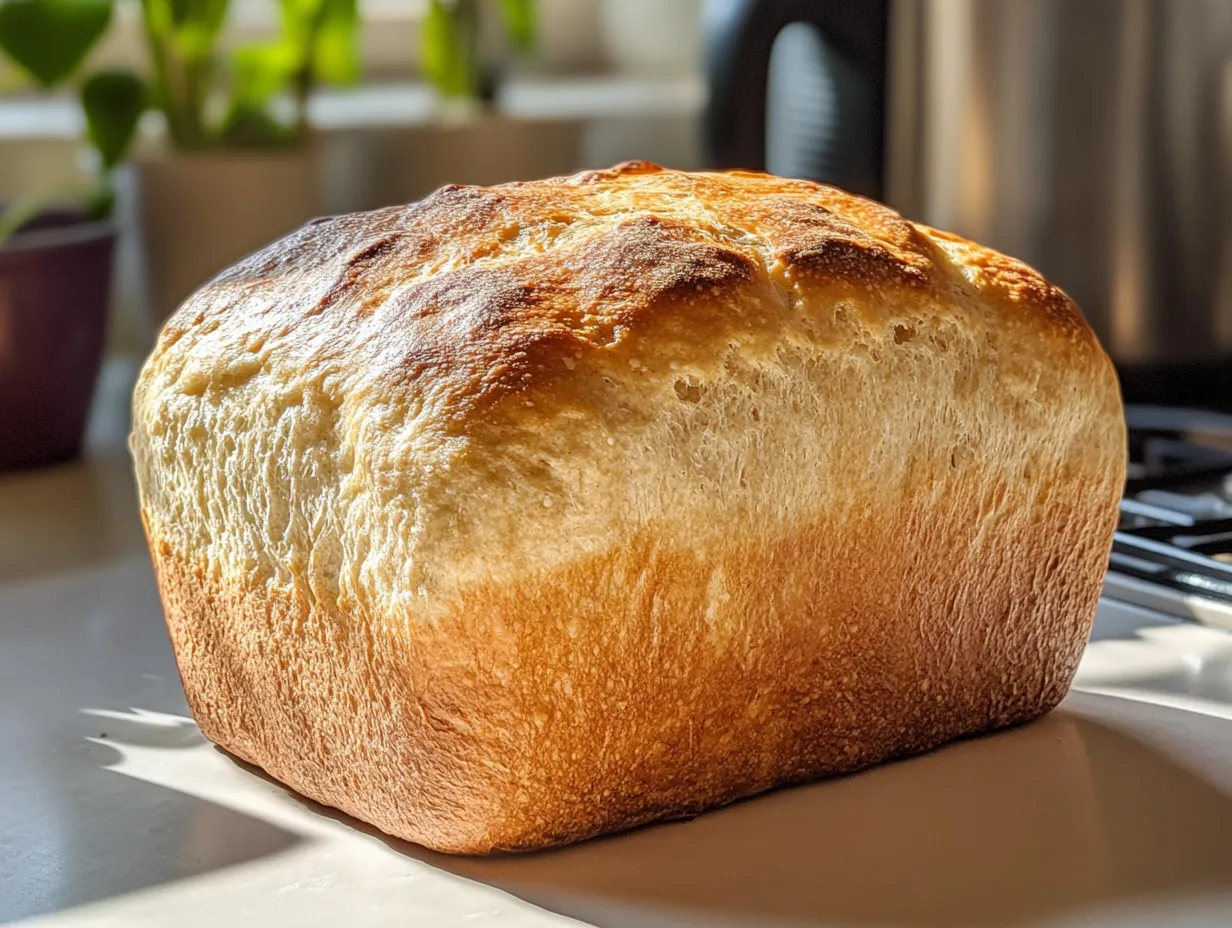
This Quick 20-Minute Homemade Bread recipe is a true game-changer. It delivers on its promise of speed without sacrificing any of that wonderful homemade taste. You will love how simple it is to bring warm, fluffy bread to your family's table. Forget long kneading sessions or endless proofing times.
This recipe is designed for busy weeknights or lazy weekend mornings. It is perfect when you need a little something extra to complete a meal. Or perhaps you just crave that comforting scent. It has become a staple in my home. I know it will quickly become a favorite in yours too.
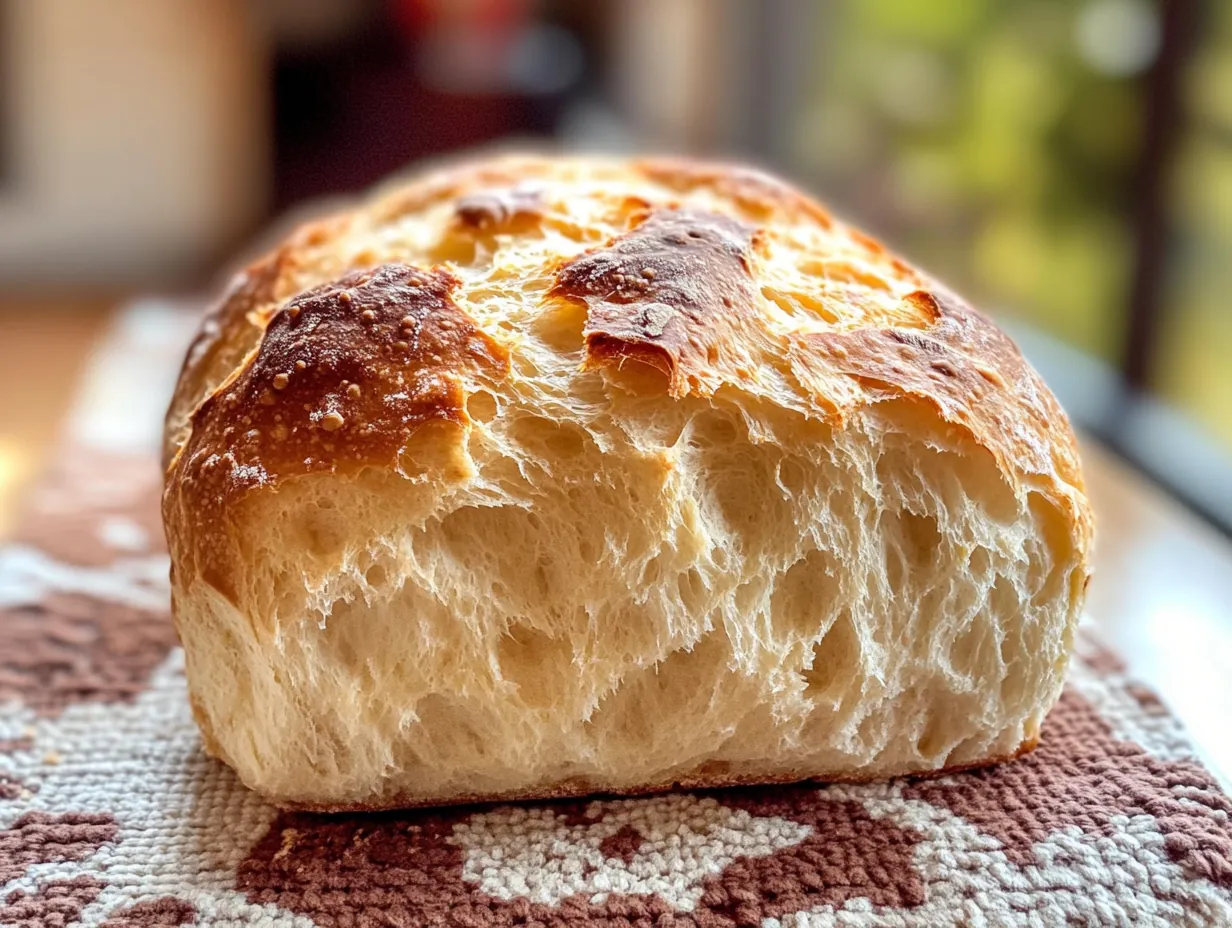
You will be amazed by the delicious results from such a small time commitment. Fresh bread can transform any meal into a cherished memory. Let's get baking and fill your home with an irresistible aroma.
Essential Ingredients for Your Quick Bread
Gathering your ingredients is the first exciting step toward a warm, delicious loaf. This recipe uses basic pantry staples. You likely have most of these items on hand right now. Each ingredient plays a vital role in creating that perfect, fluffy texture and rich flavor.
- 2 cups all-purpose flour
- 1 tablespoon sugar
- 1 tablespoon instant yeast
- 1 teaspoon salt
- 0.75 cup warm water (about 110°F)
- 2 tablespoons olive oil or melted butter, plus extra for brushing
All-Purpose Flour: This is the backbone of our bread. It provides the structure and chewiness we all love. Select unbleached all-purpose flour for the best results. It has a slightly higher protein content than bleached flour. This contributes to a stronger gluten network. If you only have bleached flour, it will still work beautifully. You can also substitute bread flour for a chewier texture. Do not use self-rising flour, as it contains leavening agents that will interfere with the yeast.
Instant Yeast: This magical ingredient makes our bread rise quickly and beautifully. Instant yeast is fantastic because you can add it directly to your dry ingredients. There is no need to activate it separately in water. This saves you precious time. Make sure your yeast is fresh for optimal rising power. Store yeast in the refrigerator or freezer after opening. Active dry yeast can be used, but you will need to activate it first. Dissolve it in the warm water with the sugar for 5-10 minutes. Wait until it becomes foamy before adding it to the flour.
Warm Water: The temperature of your water is crucial for activating the yeast. Water that is too cold will not activate the yeast properly. Water that is too hot will kill it. Aim for a temperature around 110°F. This feels warm to the touch, like a comfortable bath. A kitchen thermometer is very helpful here for precision. If you do not have a thermometer, test a drop on your wrist. It should feel pleasantly warm, not hot.
Baking Your Easy Homemade Bread Loaf
Getting started on this bread is truly so simple. You will be amazed at how quickly you move from mixing bowl to a delicious, golden loaf. Follow these steps for perfect results every time.
Combine warm water, sugar, and yeast in a large mixing bowl. Gently stir them together until everything is well combined. Let this mixture sit undisturbed for 5 minutes. You are looking for a bubbly, foamy layer to appear on the surface. This shows your yeast is active and ready to work its magic.
Chef's Tip: Do not skip this crucial step of proofing your yeast. If your yeast mixture does not become foamy after 5 minutes, your yeast might be old or the water temperature was incorrect. It is best to start over with fresh yeast and properly warmed water to ensure a good rise.Add the all-purpose flour, salt, and 2 tablespoons of olive oil or melted butter to the yeast mixture. Using a sturdy spoon or a rubber spatula, stir all the ingredients together. Continue stirring until a soft, shaggy dough forms. It might look a little sticky at this stage, which is perfectly normal. Avoid overmixing, as this can make your bread tough.
Chef's Tip: If your dough feels too sticky to handle, add a very small amount of flour, about a tablespoon at a time, until it is more manageable. Conversely, if it seems too dry, add a tiny bit more warm water. The goal is a soft, pliable dough that just barely clings to your fingers.Lightly flour your hands and a clean work surface. Turn the dough out onto the floured surface. Gently shape the dough into a loaf. You do not need to knead extensively for this quick bread. A few gentle folds and tucks will suffice. Place the shaped loaf onto a baking sheet lined with parchment paper. Parchment paper prevents sticking and makes cleanup a breeze.
Chef's Tip: For shaping, gently pull the edges of the dough toward the center, turning it as you go, to create a smooth top. Then, flip it over so the seam is underneath. This creates a nice, tight surface that will rise beautifully. Do not press down too hard; keep your touch light.Let the shaped dough rest on the baking sheet for 5 minutes. During this short resting period, your oven should be preheating to 400°F (200°C). This allows the dough a quick final proof before baking. It also ensures your oven is at the perfect temperature for that initial burst of heat. This helps create a beautiful crust.
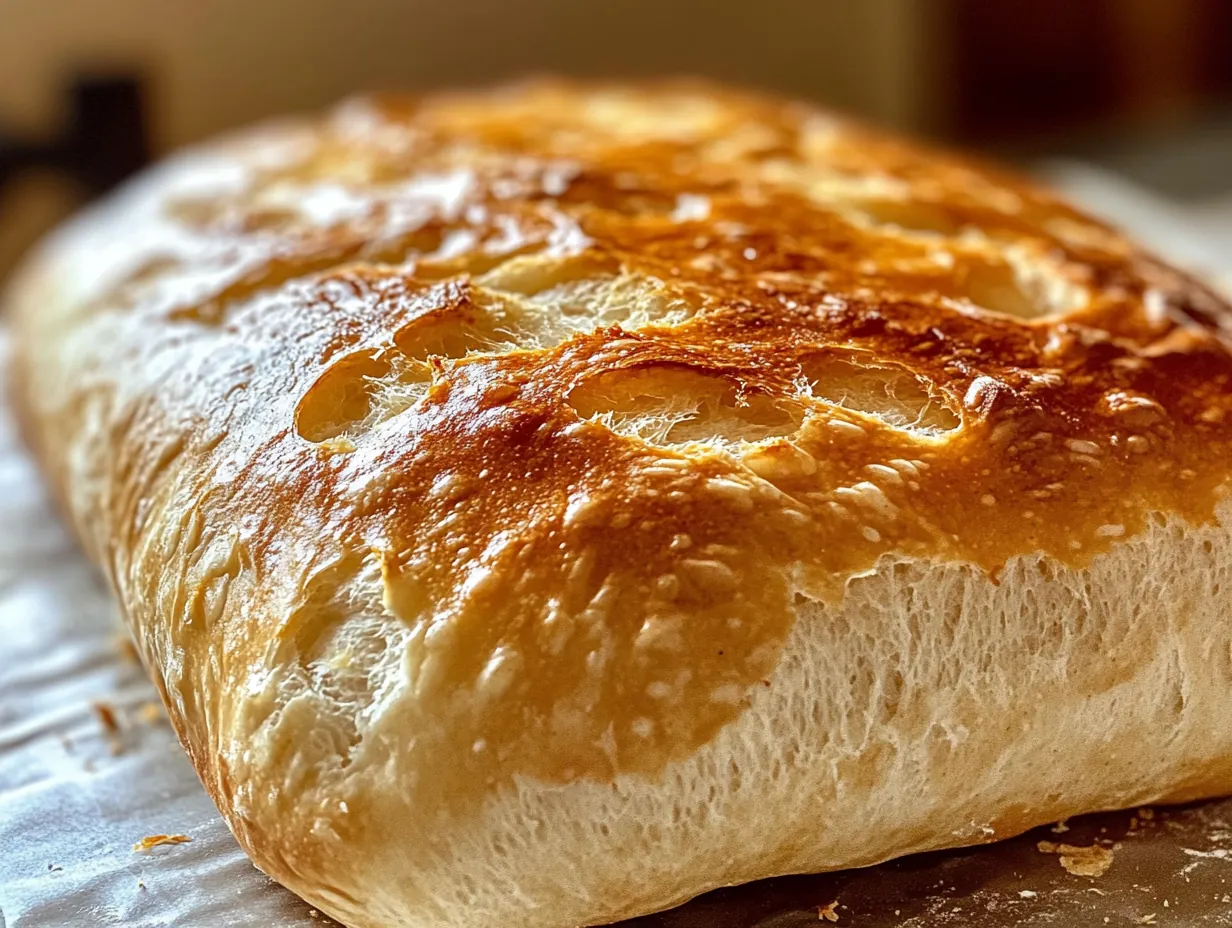
Chef's Tip: While the dough rests, ensure your oven fully preheats. An accurately preheated oven is vital for consistent baking and a good rise. If your oven has a light that indicates it is preheated, wait for it to go off before placing the bread inside.After the resting period, brush the top of your loaf generously with a little extra olive oil or melted butter. This step contributes to a beautiful golden-brown crust and adds a subtle richness. Carefully place the baking sheet with the loaf into your preheated oven. Bake for approximately 15 minutes. The bread should turn a lovely golden brown color on top and sound hollow when tapped on the bottom.
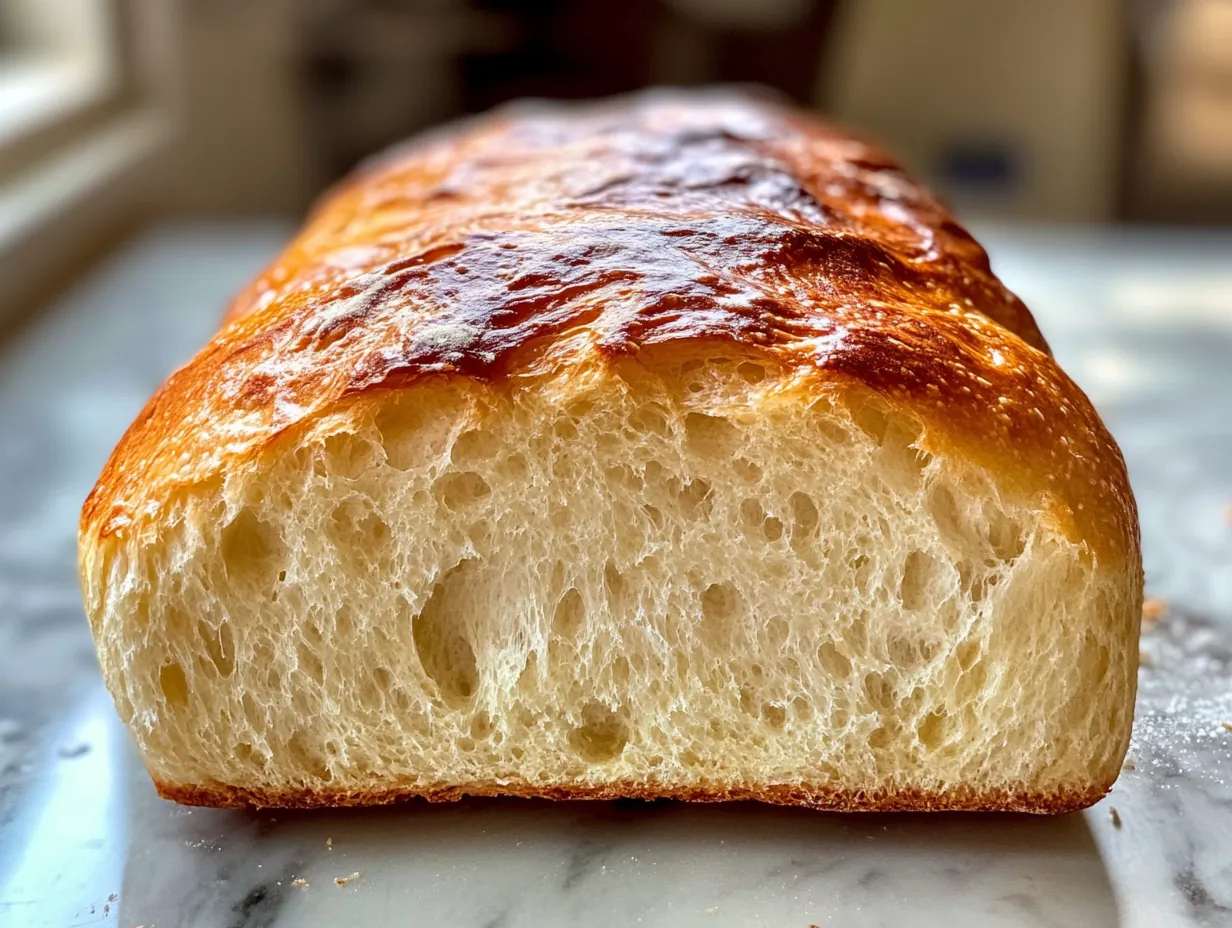
Chef's Tip: Keep an eye on your bread during the final minutes of baking. Ovens can vary, and you want a perfectly golden, not burnt, crust. If it is browning too quickly, you can loosely tent it with aluminum foil for the last few minutes.Once baked, carefully remove the bread from the oven. Transfer it to a wire rack to cool slightly. Allowing it to cool for at least 10-15 minutes before slicing is important. This helps the internal structure set. It also prevents the bread from becoming gummy. Enjoy your warm, homemade bread!
Chef's Tip: Resist the urge to slice into your bread immediately after it comes out of the oven. The cooling period allows the steam to redistribute within the loaf. This creates a much better texture and flavor. Patience will reward you with truly perfect slices.
Delicious Twists and Perfect Pairings for Your Bread
This quick bread recipe is wonderfully versatile. It makes a fantastic base for all sorts of creative additions. Do not be afraid to experiment and make it your own. Here are some of my favorite ways to change things up and elevate your bread experience.
My Creative Touch:
- Herbed Garlic Bread: Before baking, mix 1 teaspoon dried Italian herbs and 1 clove minced garlic into the dough with the flour. You can also brush the top with garlic butter instead of plain olive oil. This creates a wonderfully aromatic and flavorful loaf perfect for serving with pasta or soups. The herbs infuse the bread with a delightful fragrance.
- Cheesy Jalapeño Bread: Fold in 1/2 cup shredded cheddar cheese and 1-2 tablespoons finely diced pickled jalapeños into the dough during the mixing stage. The cheese melts into gooey pockets. The jalapeños add a mild, zesty kick. This makes an excellent side for chili or a flavorful snack on its own. It is a true crowd-pleaser.
Gourmet Pairings:
- Drink Pairing: A robust, dark roasted coffee or a warm mug of spiced apple cider complements this bread beautifully. The bitterness of the coffee cuts through the richness, while the apple cider enhances its comforting qualities.
- Side Dish Pairing: Serve slices of this warm bread alongside a hearty bowl of my Creamy Tomato Basil Soup. The bread is perfect for dipping and soaking up all those delicious flavors. It also makes a fantastic accompaniment to a simple garden salad with a tangy vinaigrette.
Storing and Reheating Your Homemade Bread
Properly storing your freshly baked bread ensures it stays delicious for as long as possible. Here is how to keep your quick bread at its best.
Storage: Once completely cooled, store your bread at room temperature. Place it in an airtight container, a bread box, or a tightly sealed plastic bag. It will stay fresh and soft for up to 2-3 days. Avoid refrigerating homemade bread. Refrigeration tends to dry it out and makes it stale faster.
Freezing: This bread freezes beautifully. Once it is completely cool, slice the loaf. Place the slices in a freezer-safe bag or wrap the whole loaf tightly in plastic wrap, then foil. It will keep well in the freezer for up to 3 months. Thaw frozen slices at room temperature. Alternatively, pop them directly into a toaster for a quick warm-up. Thaw a whole loaf overnight in the refrigerator, then warm it.
Reheating: To reheat, preheat your oven to 350°F (175°C). Place individual slices directly on the oven rack for 5-7 minutes. If reheating a whole loaf, wrap it in foil. Bake for 10-15 minutes, or until warmed through. You can also quickly toast slices in a toaster or pan-fry them with a little butter for extra crispiness.
Common Questions About Quick Homemade Bread
I often get asked questions about making bread, especially quick versions like this. Here are some answers to help you feel confident in your baking journey!
What if my bread does not rise?
The most common reason for bread not rising is inactive yeast. Ensure your warm water is around 110°F. Water that is too hot will kill the yeast. Water that is too cold will not activate it. Check the expiration date on your yeast. Always look for that foamy layer in step one to confirm your yeast is alive and well before proceeding with the recipe.
Can I use whole wheat flour for this recipe?
While you can certainly experiment, I recommend sticking to all-purpose flour for the best results with this specific recipe. Whole wheat flour absorbs more liquid. It also has a denser texture. This might require adjustments to the water content and could result in a heavier loaf. If you want to try, start by substituting only half of the all-purpose flour with whole wheat.
How do I get a crispy crust on my bread?
For a crispier crust, you can place a pan of hot water on the bottom rack of your oven during baking. The steam created helps the crust crisp up beautifully. You can also brush the loaf with an egg wash (one egg beaten with a tablespoon of water) instead of olive oil. This gives a shinier, slightly crispier finish. Ensure your oven is fully preheated.
And there you have it, friends! A truly quick and utterly delightful homemade bread recipe. I hope you feel inspired to give this a try. There is immense satisfaction in pulling a warm, golden loaf from your own oven. This recipe proves that you do not need hours of time or advanced skills to enjoy that wonderful experience. It is all about simple ingredients and a little bit of love.
Do not worry if your first loaf is not absolutely perfect. Every baker has a learning curve. The joy is in the process and the incredible aroma filling your kitchen. This bread is perfect for breakfast toast, alongside a hearty dinner, or simply enjoyed on its own with a smear of butter. It is comfort food at its finest.
I would absolutely love to hear how your Quick 20-Minute Homemade Bread turns out. Please come back and share your experiences in the comments below. What did you pair it with? Did you add any fun variations? Happy baking, and enjoy every single delicious bite!
Reader Reviews
This recipe is an absolute lifesaver! I was shocked at how quickly and easily I got a perfectly fluffy loaf. My family devoured it.
I was skeptical about a 20-minute bread, but it actually works! It's not quite as crusty as a long-fermented loaf, but for a weeknight fix, it's fantastic.
So impressed with this! I needed a quick bread for dinner and this exceeded all expectations. It was incredibly light and airy.
Definitely a fast bread, and it turned out pretty good! Mine was a little denser than I usually like, but for how little time it took, I can't complain.
Leave a Review